Installing a WordPress blog can’t be any easier than what we have today.
In this post, I am going to walk you through from the beginning until you had a complete WordPress blog installed.
What you need to have in order to complete this tutorial together with me is the Hostgator Web Hosting which you can get it right there from my affiliate link.
The reason I use and recommend Hostgator in this tutorial is because I had been using it for my personal blogs so far and it had been a very good web hosting service.
Getting your web hosting
#1 – Go to Hostgator site
Click on this Hostgator affiliate link to get your web hosting first.
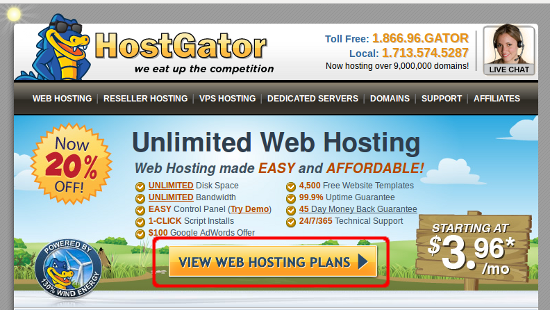
#2 – View the Web Hosting Plans
From the home page, click on View Web Hosting Plans.
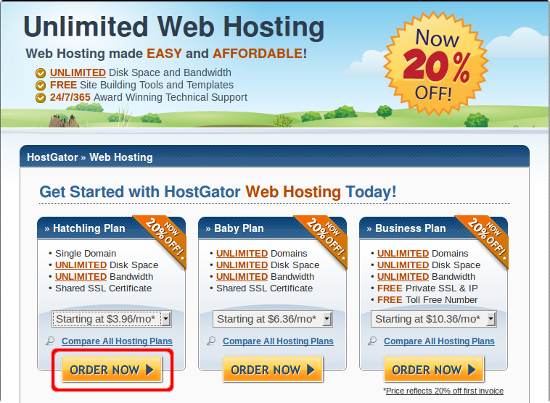
#3 – Select your plan and click on Order Now
For the start, the Hatchling plan should be sufficient unless you plan to host multiple site under one account
Click on the Order Now button to proceed.
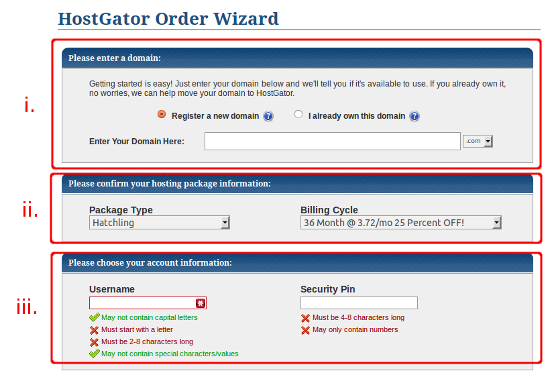
#4 – Fill up the checkout form
i. Domain name. If you don’t have a domain name, you can have Hostgator to register for you by specifying your desired domain name here.
ii. Billing Cycle. From here, you can select as short as monthly billing cycle up to 36 months of billing cycle. The longer your billing cycle, the cheaper your hosting fee.
iii. Account Information. Select your desired Username and Security Pin.
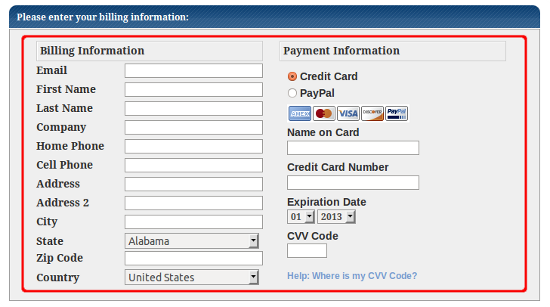
Billing Information. Fill up this section with your billing information and select your payment method.
You can either pay with PayPal or Credit Card here.
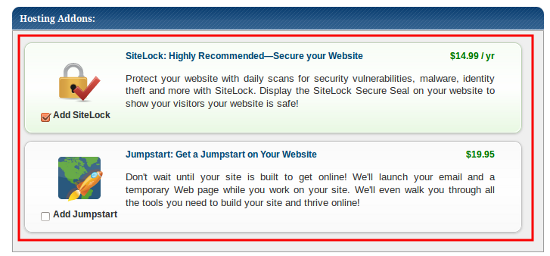
Hosting Addon. Hostgator provides two Hosting Addon which are the SiteLock and Jumpstart.
You might need the SiteLock addon here to secure your site where for the Jumpstart, it will depend on how urgent you need your business to start operating but these are completely optional.
Coupon Code. By default, you will be given 20% off from Hostgator for any web hosting that you purchased.
You can get up to 25% off here if you use the Blogging Fever Coupon code.
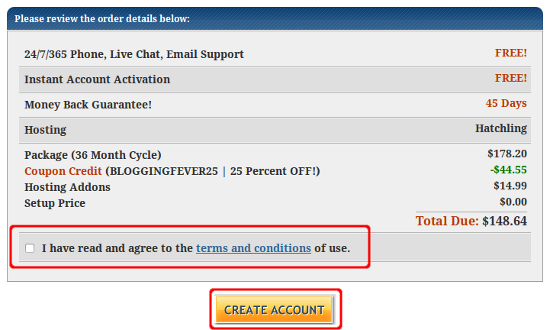
Just apply bloggingfever25 to the Coupon Code and click on Validate.
You will see the total amount is now reduced by 25%.
Create Account. Finally, check the terms and conditions checkbox, review your total payment and click Create Account to purchase your web hosting.
The next step will be making your payment where I will not be able to guide you in detail to do so.
#5 – Wait for Hostgator email
Good job. You had completed the first section of this tutorial.
Once you had successfully completed your payment, Hostgator will send you an email regarding your account information.
You will need those information for the next session.
Installing WordPress
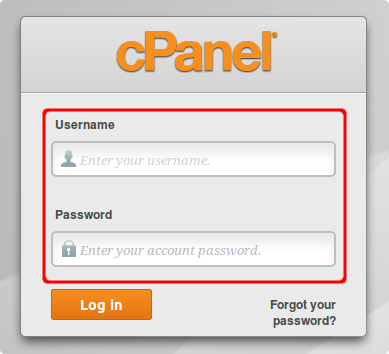
#6 – Login into cPanel
The cPanel is going to be the place where you manage your web hosting most of the time.
You can get the URL, username and password of your cPanel from the email that Hostgator sent to you.
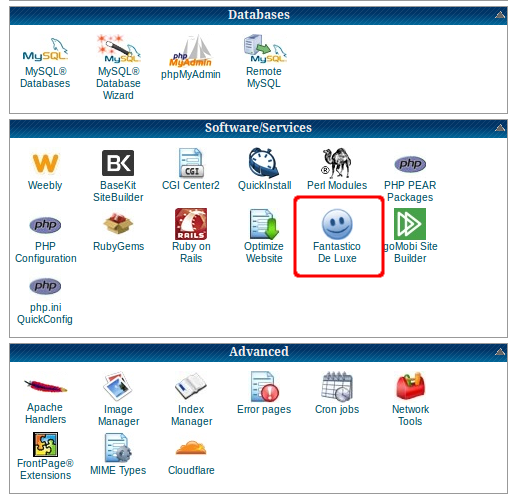
#7 – Launch Fantastico
In this step, you will need to make use of the Fantastico service to install your WordPress.
Scroll down to the second last section, locate Fantastico De Luxe and click on the icon.
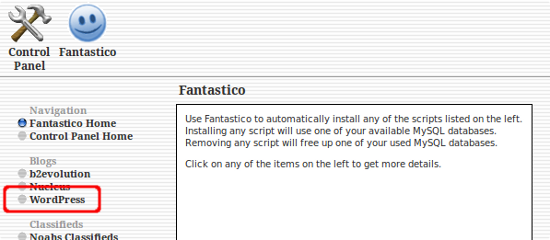
#8 – Select WordPress
Find the WordPress software under the Blogs category and click on it.
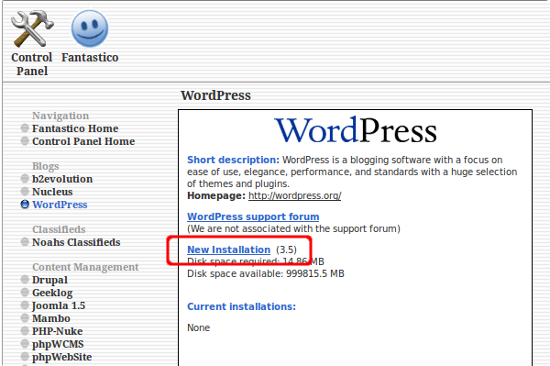
#9 – Click New Installation
As this is your first blog installation, click on New Installation.
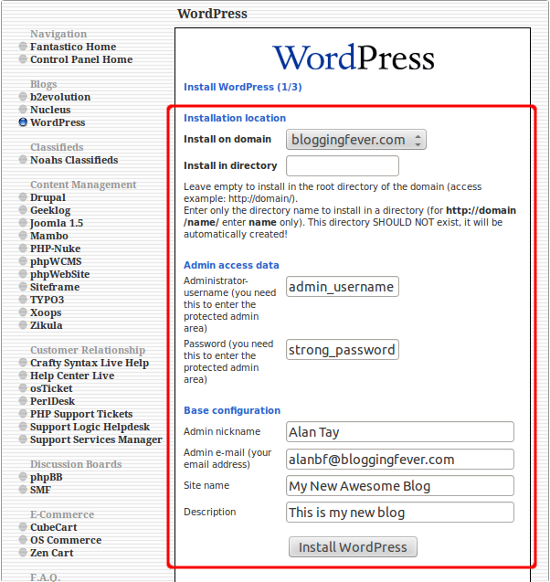
#10 – Fill up the installation form
Note: Apart from the domain and directory (the first two form input of this step), everything else can be change after your installation. You can also change the domain and directory but that will require a lot of work later on, so don’t mess this up.
Install on domain. Select the domain that you want your WordPress to be installed.
Install in directory. Specify the directory that you want to install. I recommend you to leave it empty unless you want your home page to look like:
http://www.mydomainname.com/mydirectoryname
Administrator username. Avoid using common administrator name such as administrator, admin and etc. Get a unique one.
Password. Set a strong one here. An administrator can do anything to the WordPress blog. Although WordPress don’t have restrictions by default, but your password should be more than 10 characters (around 12 should be fine), alphanumeric with upper and lower case and also some symbols.
Admin nickname. The nickname of your admin and where this can be anything.
Admin email. This email is used for receiving notifications from WordPress and also the administrator’s password reset. Use an email that both you and the WordPress blog can reach.
Site name. The title of your blog here.
Site description. A short description of your blog.
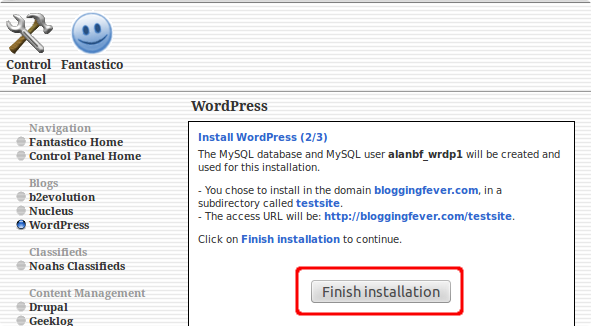
#11 – Finish Installation
Finally, click on the Finish Installation button to complete the installation.
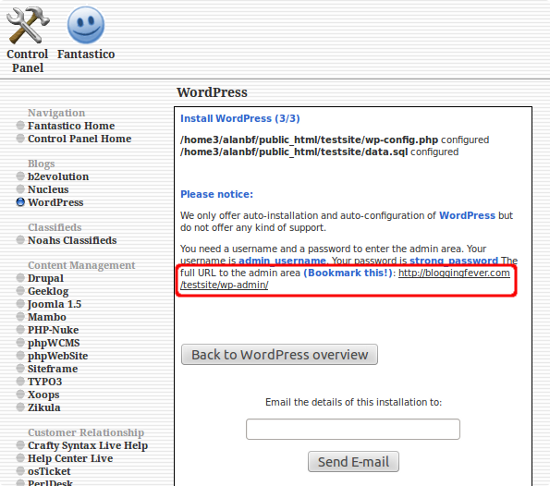
#12 – Go to your Admin Area
Click on the URL at the end of the paragraph to reach your WordPress Admin Area.
Whenever you need to access the admin area in the future, just type your site domain name and add either “/wp-admin/” or “/wp-login.php” at the back of it. E.g.:
http://www.yoursite.com/wp-admin
http://www.yoursite.com/wp-login.php
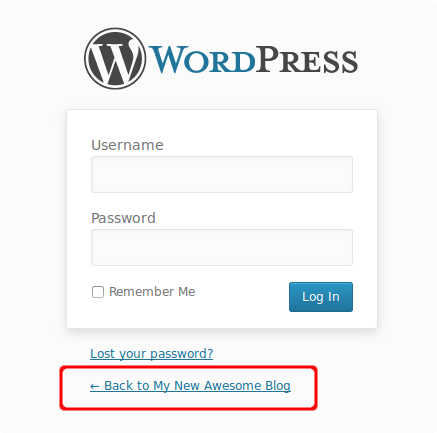
#13 – Go to your Home Page
By login in here, you will access your WordPress Admin Area.
To view how your home page looks like, click on Back to My New Awesome Blog.
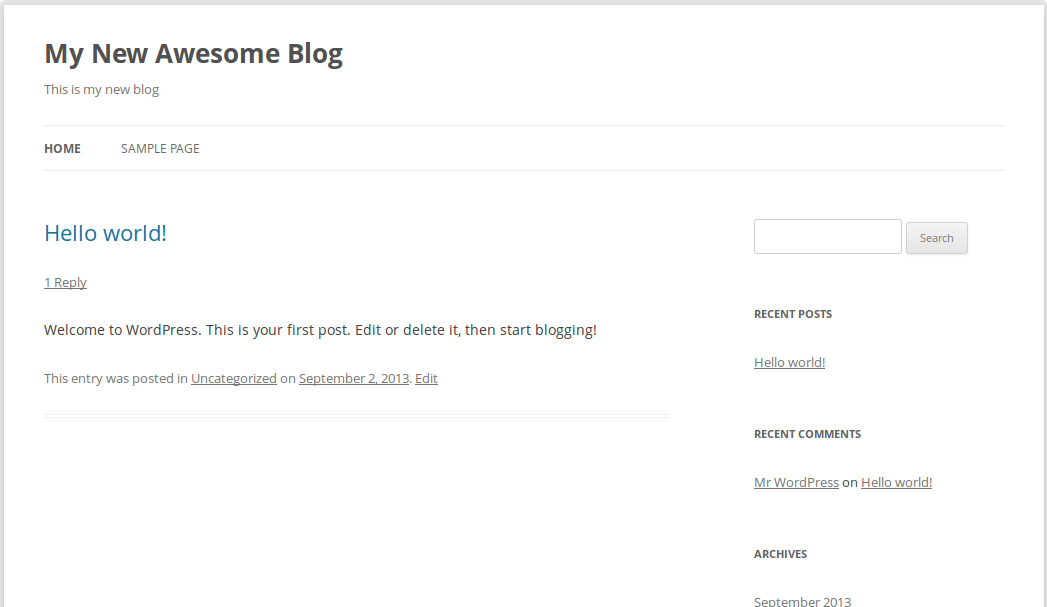
#14 – Your blog is ready!
Congratulations! Finally, you had your blog completely installed.
What’s Next?
Once you are done with all the installations, you are almost ready to blog.
You can start posting your content now because while you work on some contents of your blog, you can also work on your design.
The reason is, before you can have visitors on your site, you need to ensure your content and design is ready.
For blog design, you can take a quick look at the Genesis Framework, the WordPress theme that I use where I will walk you through that as well in the next post.


With other hosts, it may be different. If you are hosting with Hostgator, you can click on the Fantastico icon, then WordPress on the left side menu. For GoDaddy, when you launch the hosting manager, there’s a WordPress button directly on the main page you can click on.
Well, thanks for your feedback.
You are right about Hostgator and I had tried several web hosting as well where some are quite different.
Alan Tay recently posted..7 valuable lessons learned from 21 domain names purchased
Hi Alan
Nice Tutorial.
Fantastico & softaculus make it super easy to install complex CMS like WordPress in a single click. I like the way you explain the installation process.
Tauseef Alam recently posted..Hostgator Reseller Coupon
Dear Alan Tay,
This is very good tutorial for new web admins. Everything is nice. i have followed your instruction to register my new blog. Thank you for your sharing.
Satish Kumar Ithamsetty
Satish Kumar Ithamsetty recently posted..How to Install WordPress on Hostgator cPanel ?
You are welcome, Satish.
Thanks for your comment.
Alan Tay recently posted..How to start an internet business today
Thank you so much for this post. Very easy to understand plus screenshots.
You are welcome, Kathy.
Thanks for your comment there by the way.
Alan Tay recently posted..10 Adsense income reports to motivate your Adsense niche site projects in 2015